Saturday, June 18, 2005


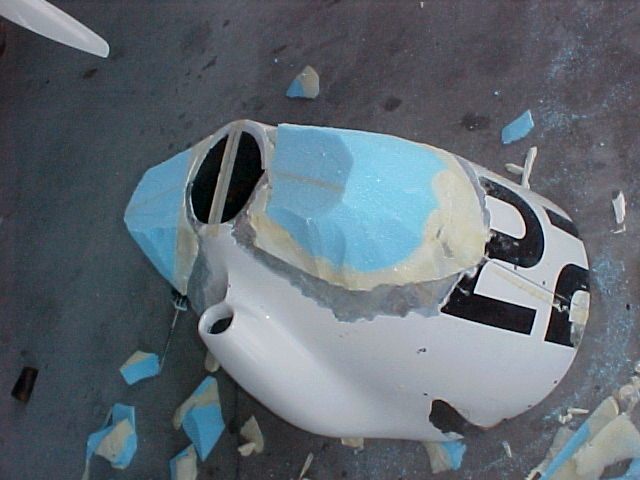
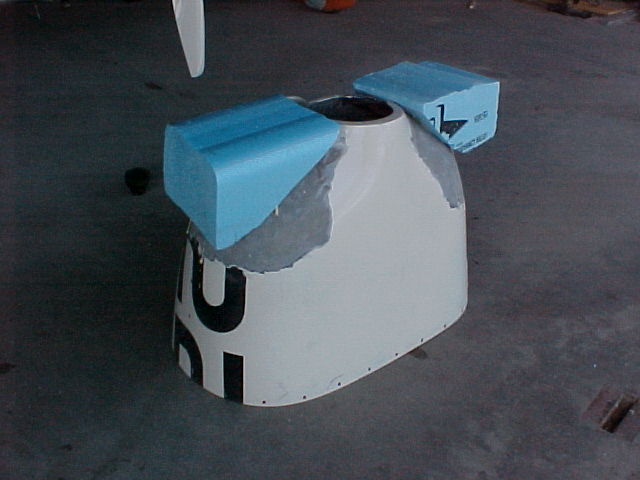
Here you can see the gaping hole in the plenum, where I removed the previous duct used to connect to the old inlets. I'll get a couple pieces of foam and start carving. Posted by Hello

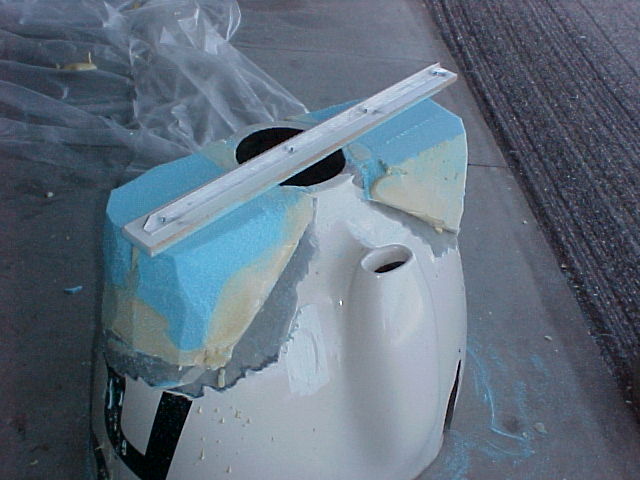
Time for a trial fit. I do believe this is going to work. Next task is making inlet ductong to the plenum. Posted by Hello

Friday, June 17, 2005


Two layers of glass applied to the foam. I should have shown a photo of the foam, before glassing, but I forgot to take it. Posted by Hello

Monday, June 06, 2005


Trial fit for placement! Looking good. Posted by Hello

Before I shape the outside, I think it is better to get started on mounting the inlets. First, I work on the cutouts. Posted by Hello

Now, the cowl can be re-mounted on the engine. This is where I will do the final carving and shaping. Posted by Hello

Again, using the Sawsall, I cut the foam directly over the existing split line, separating the cowl halves. Posted by Hello

A chalkline is snapped on the new foam, directly over the old split line. I determined that I want the center on the inlet rings 11.5" from the center of the crankshaft. Posted by Hello

Here, I am working on the foam, with a long sanding board, to make it even with the foward lip of the cowl. The inlet rings will be flush in this plane. Posted by Hello

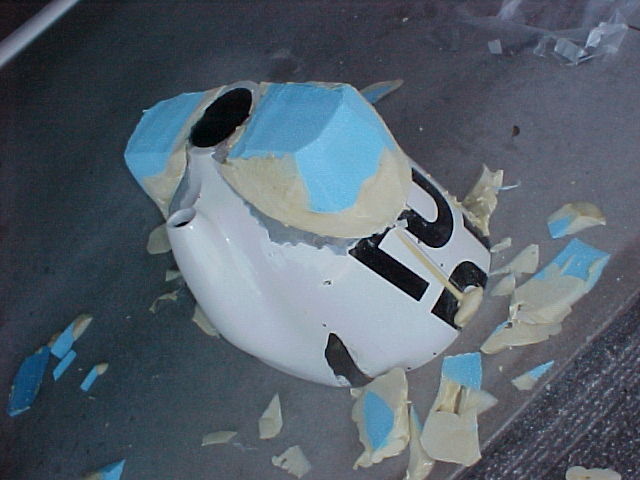
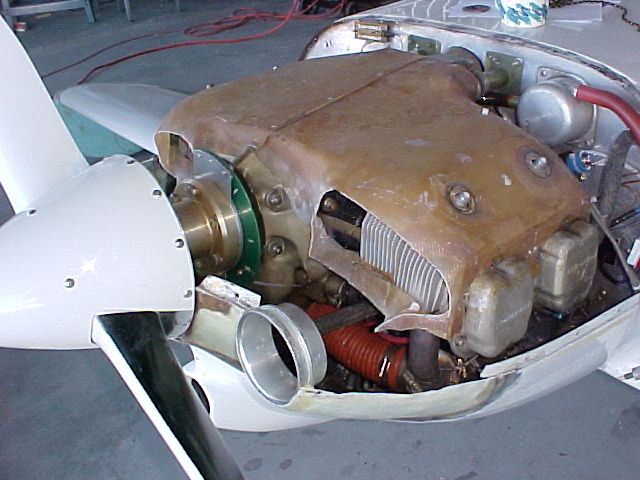
Using my Milwaukee Sawsall, with a 12" saw blade, I started removing the stuff that didn't seem to belong. Posted by Hello

Plastic removed, ready for carving. Posted by Hello

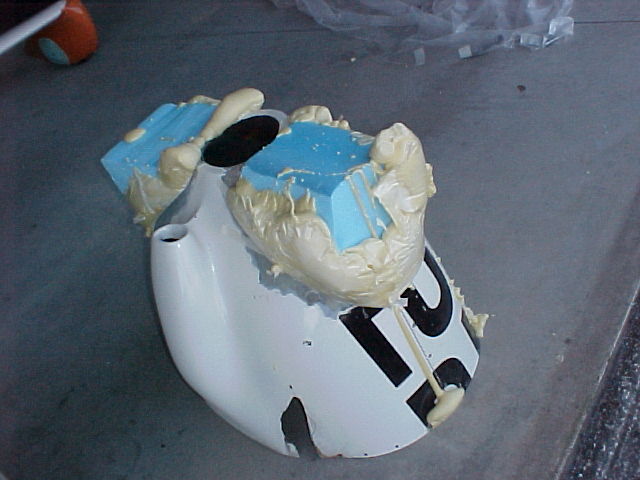
I then wrapped plastic around the blocks then dumped in more two-part foam. Posted by Hello

First step to installing the new inlet rings: I prepared the cowl by sanding, then glued on a couple of blocks of foam using the two-part expanding foam from Wicks. Posted by Hello

My Never Ending Quest For Speed - The Affliction

Doing some careful evaluation flying, I have determined that I am now getting 174 kts at 5,500 feet, wide open throttle.

I have been using a spread sheet originally developed to use GPS to determine pitot-static error and it's located at the National Test Pilot's School web site. The idea is to fly in four different directions, at a constant IAS, and record your groundspeed. The spreadsheet removes the wind component and gives your true airspeed. It also computes the standard deviation (smaller is better).

From flight testing I did in the past, I can tell that my new wheelpants bought me 3 knots. Not a real lot, but three knots, nonetheless.

My next quest will be to install my new aluminum engine cowl inlet rings. These came from Sam James aircraftt, in Florida. Mr. James claimed I would get 4-5 mph improvement, so here goes...

Wednesday, May 18, 2005

Better Brakes

I have now had a few flights and landings on my new Q-200 taildragger brake mounts. If you scroll down to some previous posts you can see the photos of them. I really like them. They are better designed and less prone to twisting, therefore less prone to grabbing and chattering. At this point, if you are using Airheart brakes I would recommend making the change. The mounts first appeared in Q-Talk #27 and were designed by Doug Coughlin. In case you don't have that old Q-Talk I drew the parts on CAD and posted them as a .PDF file. You can get them here: Coughlin Brakes You also need to drill a hole through some 3/8-24 threaded rod (McMaster-Carr). They are really pretty easy to make. I'll try and get some more details posted in the future and I'll stick it on my website too.

Sunday, May 01, 2005


Here is is ready for the first test flight. I hope these new pants will look a little smaller after they are painted! Posted by Hello

Saturday, April 02, 2005

Pure epoxy as a filler

This week I started filling the scratches, using a totally different approach. Different for me, anyway.

I first started with the brake covers. (They are made of three layers of BID and no foam). First, I scuffed the surface to allow good adhesion, then applied a single thick layer of pre-mixed Super Fill. I allowed it to cure for a couple of days, then sanded it down with 36 grit, then some 80 grit paper.

Those of you who have finished their planes will be familiar with the look of the filler material, at this point. There were lots of holes in the filler, pinholes and much larger, and major sanding scratches. But, this is what I wanted, I wanted to test this new method.

In the article "Finishing Composite Aircraft" the author says he sanded with 36 grit then some 80, then stopped. Cory Bird, builder/designer of the Symmetry (the only perfect aircraft I have ever seen), did an interview where he says he sanded with 36 grit then stopped. If it worked for him there is a slim change it will work for me.

So anyway, my brake covers had the desired contour, but were full of scratches and holes. I mixed up some Gouegon Bros. Pro-Set epoxy, squeegeed it on, then squeegeed off as much as I could. I repeated this every day, for five applications. (Cory Bird made five applications). I didn't sand beetween applications since the expoxy was still tacky.

The result was that all of the holes and scratches are nicely filled! I remember all the trouble I had in the past, filling pinholes and this completely eliminated them. After the last application cures for a couple of days, I will sand it with 150 grit, then start with the primer.

Since the results with the brake covers looked so promising, I started the expoxy treatment on the wheelpants. As of last evening, I have three applications complete. There were MAJOR scratches in the wheelpant filler. In the past I would have spent lots and lots of time sanding, and probably re-filling. This epoxy method seems to work great and I will definitely use it when I finish my new wing.
Sunday, March 27, 2005


Left brake cover. Posted by Hello

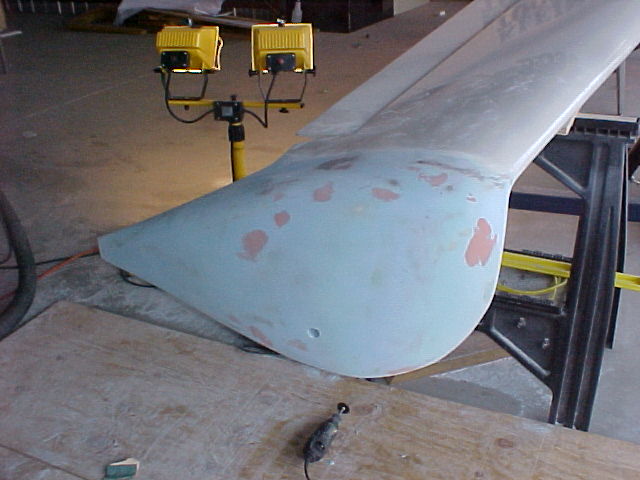
Left pant, using Aeropoxy Light. I hate sanding!!!!!! Posted by Hello

Right pant with the Superfill Epoxy Filler. Posted by Hello