Friday, August 12, 2005


Here's the payoff! My average speed for the 500 sm. mile race was 200.3 mph. Though my time was 3 mph faster last year, we had significantly stronger head winds this year. Rob Martinson, in his highly modified Vari-Eze, beat me by 7 mph. Four years ago he beat me by 20 mph, so I'm edging up on him. This race is A LOT of fun! Posted by Picasa

Saturday, July 09, 2005


Right after the successful test flight. Everything went smooth. I wound up the flight witha low approach down the runway and was looking at 220 mph on the airspeed indicator. Granted, I was in a shallow decent, but I didn't have the throttle all the way in, either. It took five weeks to modify the cowl. Posted by Picasa

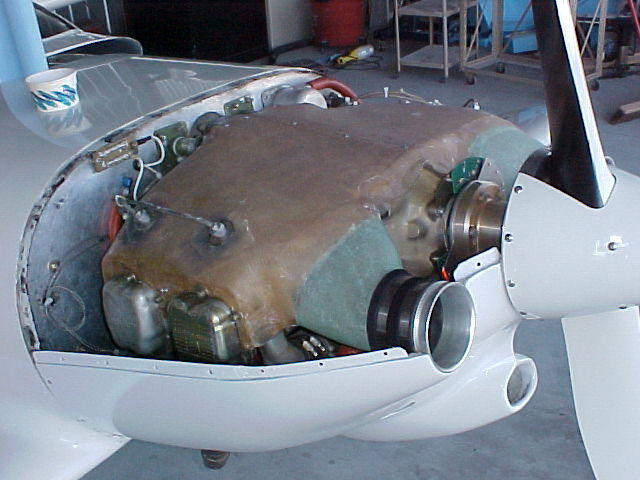
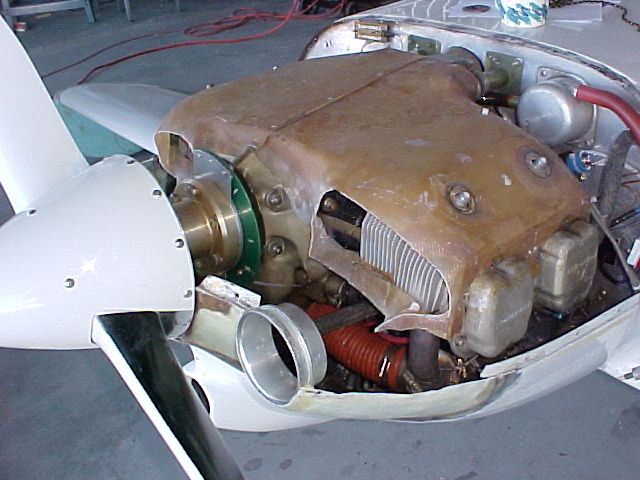
Everything buttoned up! Annual completed, and ready to fly! Posted by Picasa

Alright! Moving right along. My some miricle, the plenum actually lines up with the rings! Someone must have made a mistake, things don't usally work out this well. The black material connecting the inlet ring to the plenum is wetsuit neoprene. Posted by Picasa

Friday, July 08, 2005


The master painter, Rob Hoskins, shows off his handiwork. Rob is a bike and car guy, so he pronounced my close to the pavement wheel clearance a "low rider". Posted by Picasa

Finally! Time for paint! I called my "little" brother, Rob down to help with the finishing touches. What a great help! Posted by Picasa

Saturday, July 02, 2005


Getting ready for paint! Filling work proceeds on the cowling. Posted by Picasa

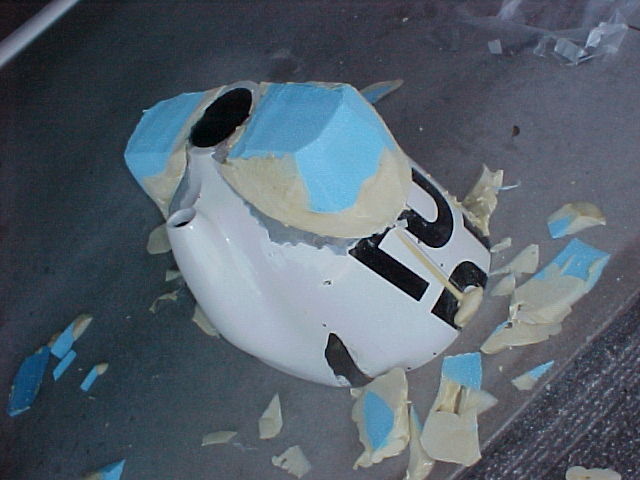
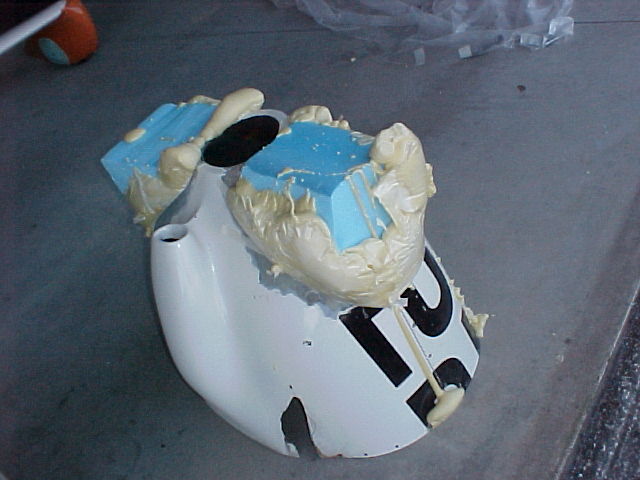
Again, I skipped a lot of steps - sorry. To make the snouts I simply attached a block of foam onto the existing plenum with 5 min. epoxy. Then I carved to shape. Next, I laid up four layers of BID. To keep the BID from permanantly attaching to the foam and creating a lot of hard micro bumps, I first used a fairly dry micro on the foam - but with no hardener. After the epoxy fully cured I poured about 1/2 cup of MEK onto the foam. It melted the foam very well and I got a fairly smooth internal surface because I used the micro without hardener. Posted by Picasa

Saturday, June 18, 2005


Here you can see the gaping hole in the plenum, where I removed the previous duct used to connect to the old inlets. I'll get a couple pieces of foam and start carving. Posted by Hello

Time for a trial fit. I do believe this is going to work. Next task is making inlet ductong to the plenum. Posted by Hello

Friday, June 17, 2005


Two layers of glass applied to the foam. I should have shown a photo of the foam, before glassing, but I forgot to take it. Posted by Hello

Monday, June 06, 2005


Trial fit for placement! Looking good. Posted by Hello

Before I shape the outside, I think it is better to get started on mounting the inlets. First, I work on the cutouts. Posted by Hello

Now, the cowl can be re-mounted on the engine. This is where I will do the final carving and shaping. Posted by Hello

Again, using the Sawsall, I cut the foam directly over the existing split line, separating the cowl halves. Posted by Hello

A chalkline is snapped on the new foam, directly over the old split line. I determined that I want the center on the inlet rings 11.5" from the center of the crankshaft. Posted by Hello

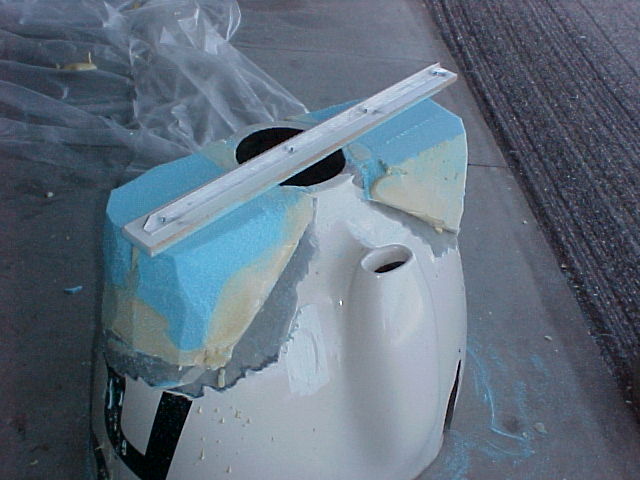
Here, I am working on the foam, with a long sanding board, to make it even with the foward lip of the cowl. The inlet rings will be flush in this plane. Posted by Hello

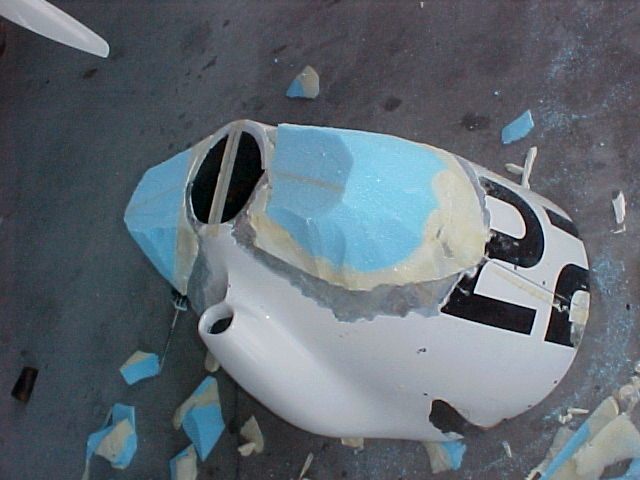
Using my Milwaukee Sawsall, with a 12" saw blade, I started removing the stuff that didn't seem to belong. Posted by Hello

Plastic removed, ready for carving. Posted by Hello

I then wrapped plastic around the blocks then dumped in more two-part foam. Posted by Hello