Saturday, April 05, 2014

Elevating the Project

The big thing lately has been working on the elevators.  Having been frustrated with my hot wiring of the elevators, I ordered a set of elevator cores from Eureka CNC.  Real nice. 


This photo shows the foam blocks that the cores were cut from.


The aluminium torque tube being installed with wet micro, a mix of epoxy and glass microballoons. The torque serves as the backbone for the elevators.


The elevators have been glassed on one side. Looking pretty good.


Fast forward a bit. The elevators are glassed on the bottom side first.  After curing for a couple of days, the top side is glassed.  To make sure it all remains nice and straight, we lightly clamped the trailing edge to a very flat table.


 Canard jigged in preparation for installing the elevators and attachments.


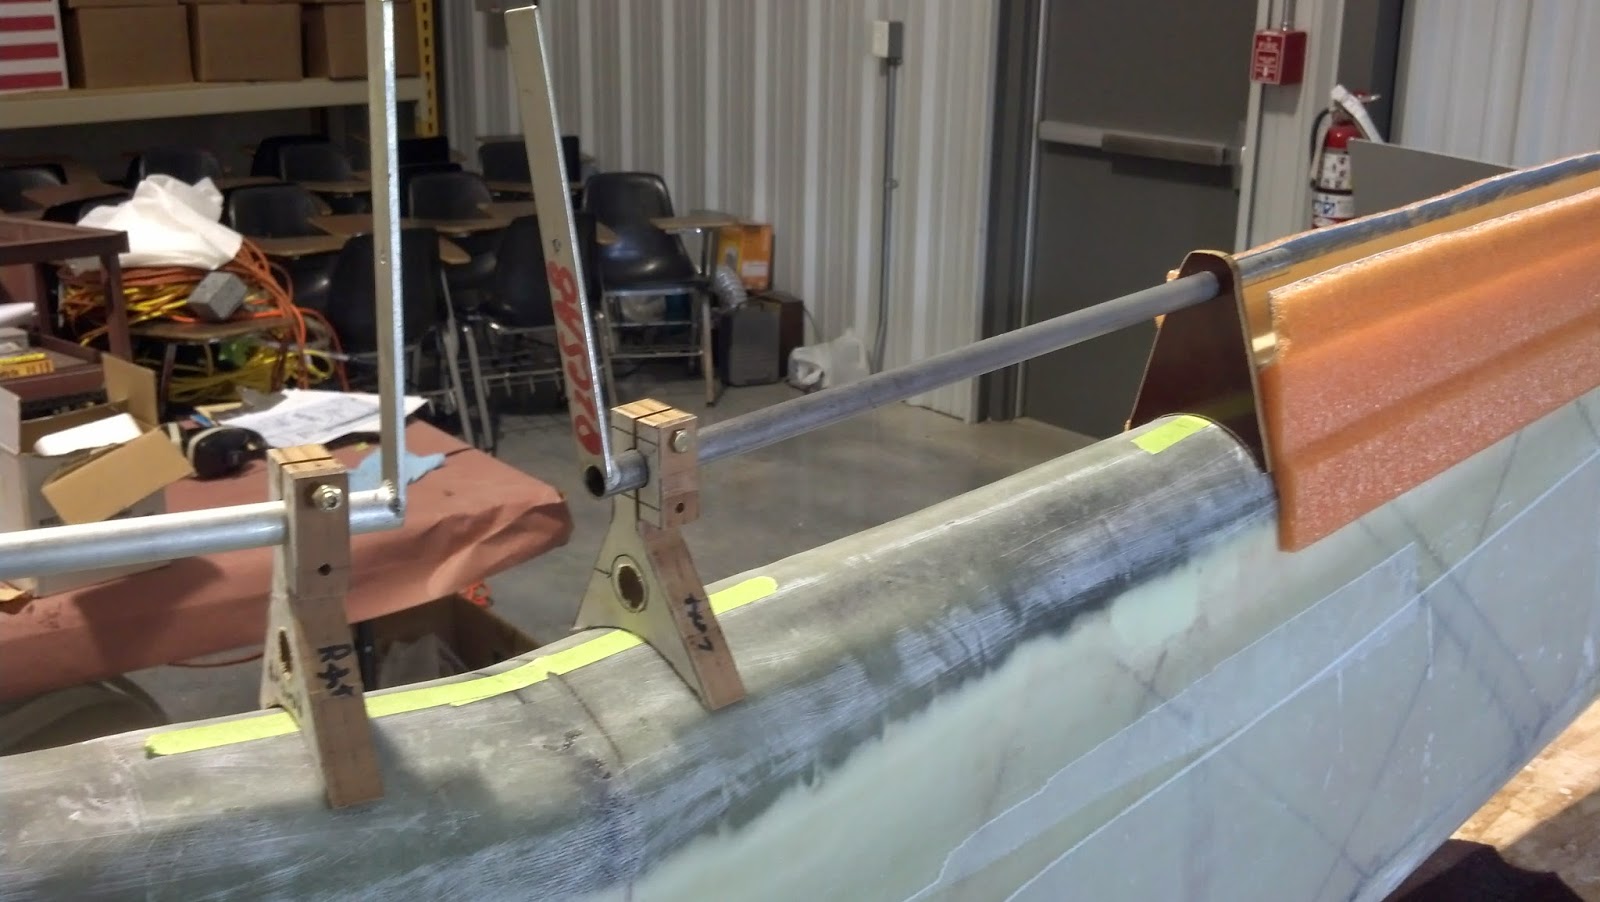
The next order of business is to do a lot of fitting.  The orange slot cores are positioned and roughly trimmed to length. The phenolic elevator hinge bearings are cut and positioned, then I try and figure how it's all going to align properly.

A major gripe I had about the Quickie Aircraft Company (R.I.P.) plans, is they hardly ever used dimensions, only templates. Say you wanted to know how far the elevator torque tube should stand off from the canard spar.  All we can do is take our best guess, hence the tag EXPERIMENTAL.

 Those vertical arms will eventually connect to the aircraft's control stick.


It's starting to look like a real canard (front wing). I have still several small aluminium parts to make up and fit. With a bit of perseverance, I should have all this rigged up within a week or so.  Ha ha.


Wednesday, March 05, 2014

A bit of progress

Nothing much happened on my end for the past 3+ weeks, as we took a break from winter for a Caribbean cruise, then a few days in New Orleans. It was a dirty thankless job, but someone had to do it.

But, things are happening now.  My elevator cores are complete and en-route from Eureka CNC in Nevada. It will be nice to get those part complete.

Even bigger news,  my engine has been checked and overhauled by Bob Malechek and it is on it's way from Texas, as we speak.  It's time for me to get out of the vacation mode and back into the Git 'Er Done mode!


Tuesday, January 21, 2014

And One Step Back

Next job is to fabricate the elevators and mount them to the canard.  Each elevator consists of two foam cores joined with micro.  A one inch diameter aluminium tube is bonded into the core. This block of orange Styrofoam seems to have lots of internal stresses, because after we hot wired it, it wanted to curve. I had such a hard time getting the tube through the foam, I wound up adding another lengthwise cut so I would not have to insert the tube into one end.

I also think the hot wire tension may not be high enough, but I am afraid that if I make it any tighter I will bust my hot wire saw.  I wound up discarding the first set of elevator cores we made, cause I didn't like them.

Pat just wandered in the garage when I was starting on the first core and he volunteered to mix epoxy and micro.


I don't remember having trouble with this thirty years ago, when I did this the first time, but be had a heck of a time.  I won't bore you with all the details, but we wound up with a piece that was way too heavy and I fear the dimensions may not be right.

 I just ordered some super-duper superalloy ultimate hot wire which has a much smaller diameter than the stuff I was using.  I have just enough foam left to try another set.  If they still come out crapola, I'm going to bite the bullet and order a set of cores cut on a CNC controlled hotwire machine.


Sunday, January 12, 2014

Last week, we had a great Saturday, applying the glass to the upper surface.  We were fortunate to have a warm day, so the room heater didn't have to work too hard.  I think I kept the temperature around 78 degrees, to help the epoxy flowing smoothly.  I was happy to have a big crew show up, and now that everyone had been through this dog and pony show once before, everyone kind of knew what to do.

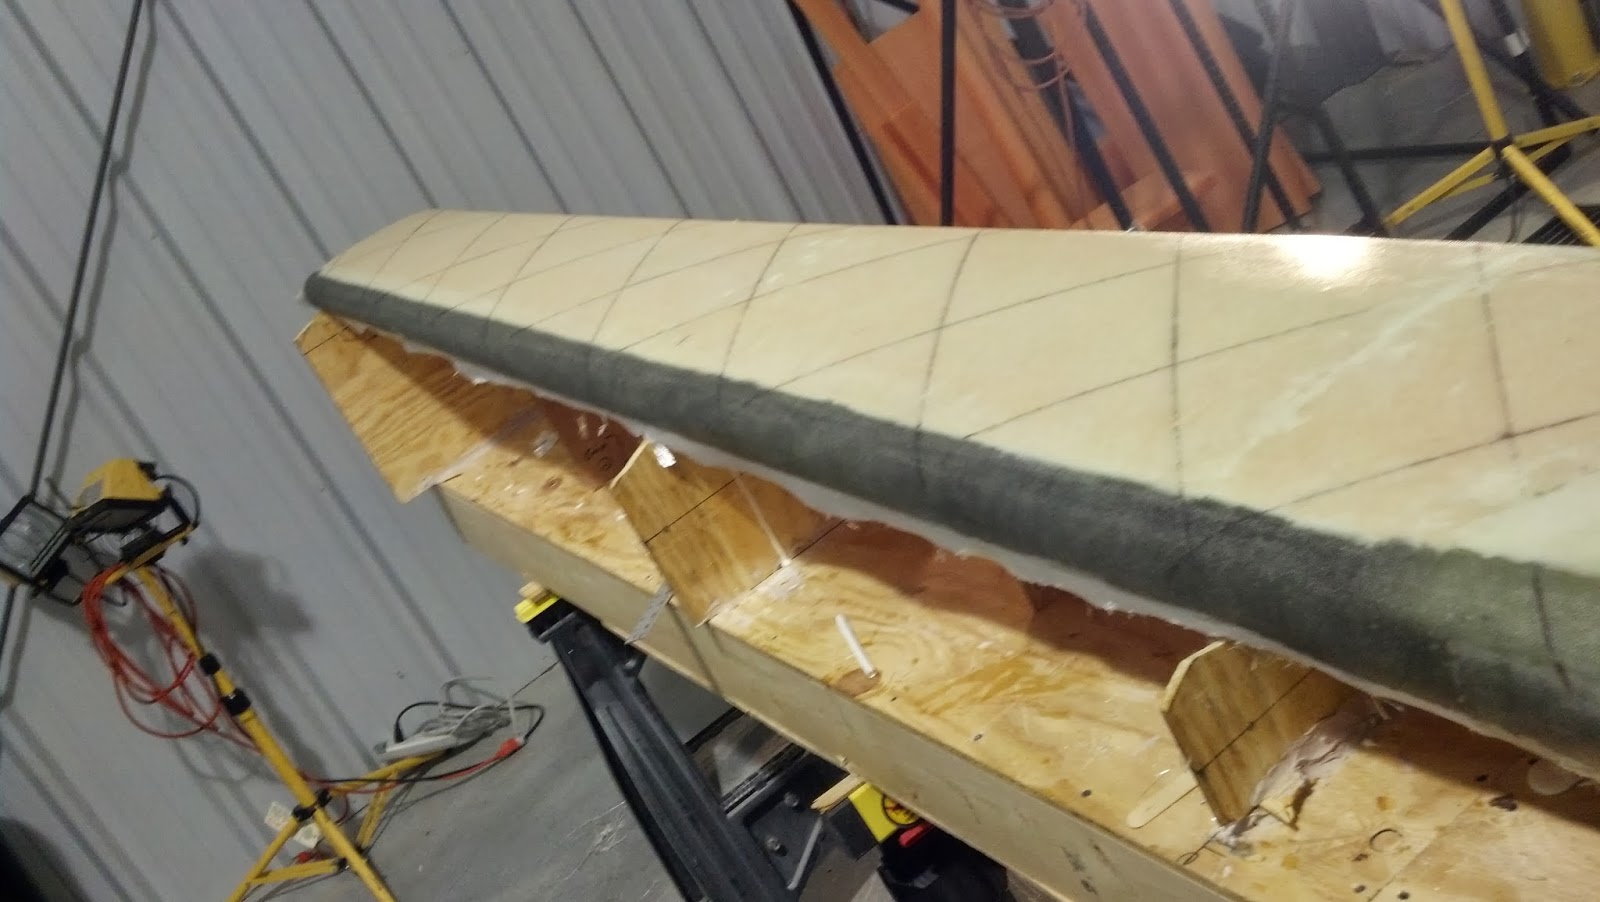
Ariel view shows the raw orange foam, the bias alignment marks, and the end sport for the spar caps.


 A low spot was filled in with dry micro the day before the major layup.


Everyone's making sure the fibers line up and that it doesn't try and get away.


Dr. Rodriguez lays it on thick. This is the third ply, which is span-wise to the whole canard.

Clarke and Larry keeping the fibers straight for one of the spar caps. Hard to see here, but I added four extra spar caps to try and eliminate some of the dimpling that has appeared in several flying canards.  This is just my experiment, your results most likely will vary.


Wetting it out, Boss!


 Layer of Peel Ply added to everything.


Complete


 Crew enjoys a cold one after lots of great work.


Saturday, December 28, 2013

Flipped the Canard and Wondering about Wheel Pants

After a bit of dressing up the previous layup, we flipped the canard today.  Things are looking good.

There is one fly in the ointment, how to strengthen the canard?  There are several issues I am addressing, but the bottom line is the canard isn't quite strong enough for the landing loads I seem to put on it.  I'm not going to hash it all out here, but I will show you what I came up with.

Here, I have lots of lumber bondoed to the canard. This will hold it in place.


 We have broken it loose from the templates and set it on the floor.  If you click on the photo, you can see all the foam and micro that dripped out.

 After a couple of hours of sanding, it is starting to look pretty good.  Maybe I can get the lay-up done next weekend.


 I have been trying to decide what to do about the wheel pants.  Several years ago I re-vamped them, starting with a simple core then building them up for the desired aerodynamic shape I was looking for. I am leaning toward doing the same thing. I imagine I would cut off everything but the core, stick them on the new canard, just like last time, then build it all up again.  This would save me from having to do all the fitting associated with the wheel and brake installation.

Tuesday, December 24, 2013

Canard Lay-up

Thanks to some major help from my friends, we did the bottom canard layup last Saturday.  Even though it was the first for these guys, I am extremely pleased with the result.  We started mixing epoxy at 9:30 a.m., then finished about 2:30 in the afternoon.

Here is the canard, ready for glass.


First batch of epoxy/microballoons goes on.

Lots of  squeegees flopping around.  Be sure and fill all those air holes guys.


Not that the micro is down on the foam, Clarke applies pure epoxy to the spar.


Fast-finger Larry wettin' everything out!


The layup gets a ply of UNI directional glass at a +45 degree angle, then another at a -45 degree angle.  Finally, a spanwise layer is applied. That is what you see here.


 Clarke is wetting out the glass over the spar.  We are just about done and getting ready for the peel ply.


The glass layup is complete.


After all the glass is down, we apply a layer of dacron type fabric to everything.  This flattens everything out and lessens future sanding when we have to prepare for joining more components and for the filler. Pat had a bunch of old Ceconite that he inherited from his father, and he donated it as peel ply.


I let it set for a couple of days to cure up and let everything harden.  Pat came out and we removed a bit of the peel ply.  Looks good!

As I said, I am really pleased with the  results.  Everything looks nice and straight.  I guess I must have remembered some tricks from when I last did this 30+ years ago.  Just seems like yesterday.


Thursday, December 19, 2013

Bonding the Cores to the Spar.

Pat helped me hot wire the cores and now it's time to glue them to the spar. The trick is to maintain perfect alignment until the epoxy cures.

After sitting through an exhausting training course, Bill Hunter became the the chief epoxy mixer.


Applying the mixture of epoxy and microballoons to the backside of the foam core.


Applying the fiberglass "rib" between the first two cores on each side.


Setting the first core into place,  Good thing Bill is a CrossFitter.


We used a hot glue gun,  nails and filament tape to hold everything in place.


Some pour in foam is used to fill the gap between the center cores.


Sam & Bill taping things up.


All the cores have been joined and held together with filament tape.


The next day I removed all the tape, nails, and excess foam.  After an hour of sanding, things are looking pretty good.  I also trimmed the nose of the center section, where it will butt up to the firewall.


I have so much work remaining on this project...  Thanks to my buddies for helping to move things along.