Wednesday, July 30, 2014

Moving along, just not fast enough.

It was a mad dash to try and get it ready for Oshkosh.  Very long days.

The canard how has a nice coat of micro-filler


Maybe not the most optimum time to hang the engine, but I needed the morale boost.  I had almost as much fun dissembling the crate, and freeing up the floor space, as I did hanging the engine.  There is a lot to hook up and install; the fuel injection manifold & harness, the starter & alternator, magneto, etc.  There is also a lot of baffling.


My little brother Rob came down from northern Illinois to help out.  Rob has lots of painting experience.  As a matter of fact, he painted this aircraft in 1985 when I was building at the Flying Cloud airport in Minnesota.


After sanding the filler with 36 grit, then 80 grit paper, we did the epoxy wipe. You squeegee it on, than squeegee off as much as you can.  Four applications on the underside, and six on the top of the canard. The temps were warm, so it tacked up quickly.

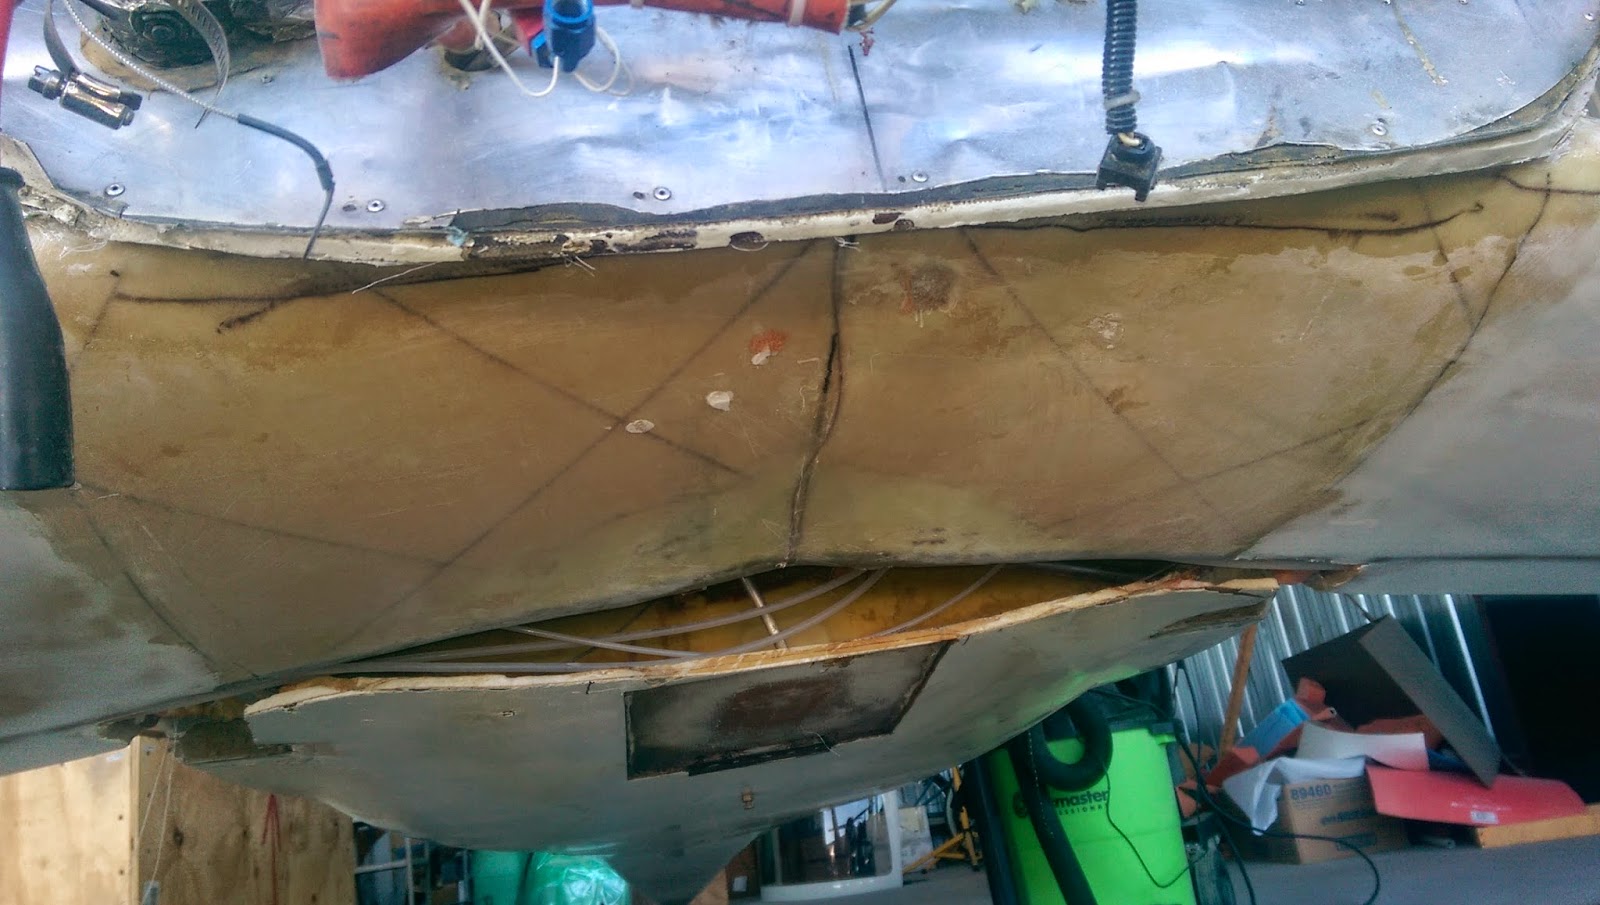
Be sure to click on this photo to see it better.  You can see all the huge scratches and pinholes.  The epoxy wipe fills all of it.


 Finally have some paint on it. I still have to do the elevators and a bit of buffing.

His mission complete, little Rob hits the road.  This has to be the loudest motorcycle I've ever heard.  He's my little brother, and I gotta love him.

Saturday, July 19, 2014

Another Big Day

Another step toward success.  Today I was extremely lucky to have a very special guest helper for a couple of hours.  We got the top surface of the canard and wheel pants covered in micro!  A few hours later I went back and did the rough cut with  Surform files.

We ran out of the West System epoxy hardener, so I used some old FAST hardener I had laying around.  Probably at least 6 years old and it had been opened, but it seemed to work fine.  It's the dark material in the photos. 


Few hours later I came back and hit it with the Surform file.  It's really important to do this at this stage, because a day later the epoxy gets a lot harder and it's more difficult to work.
 

To my dismay I may have a few low spots.  Maybe I'll try some spare use of the fast hardener just to get me by.


I Like My Fillets Medium Rare

One time consuming and important job is installing the fillets.  Naturally things weren't quite the same fit with the new canard and elevators, so I had to adapt the old fuselage fillets to the new desired positions.

The first one was on the belly, where the canard fit into the fuselage.


I salvaged what was left of the old panel I had cut off after the old canard was removed.  It was pretty hacked up from Mr. Sawzall, but enough to work with.


I didn't capture quite all the steps, but you get the idea.  First we glued the panel in place with flox, just enough to establish the position.  Then I took a thin slab of foam, slathered it with two-part foam, then jammed it into place.  The two-part foam has pretty well cured in 30 minutes, so you can start working it right away.


Some easy sanding, and it's ready for glass. Since this is non-structural, it only gets one layer of BID fiberglass. I also applied the removable peel ply.


 This shot shows the glassed panel, after the peel ply has been removed.  You might not know it, but I think it turned out pretty good.


Now it's time for the canard fillets, same basic process.  Add foam, sand to shape, then cover with one BID of glass.


At the training edge of the fillet, I glued a slab of foam with two-part, to the existing fillet.  Over the canard, I made a little tunnel out of cardboard, then poured the foam in.


For the fillets, I have a two foot cardboard tube covered with 36G sandpaper that I use to make the desired shape.


After fiberglassing and peel ply, it looks halfway decent.


 By the way, here is a picture of my shop in the hangar.  Just thought I'd throw that in.  Not very organized, but I get by.


Sunday, July 13, 2014

Unreal help

The one job that I was not looking forward in any shape or fashion was looming.  It's the task of applying the reinforcing fiberglass tapes to the interior of the fuselage, where it meets the canard.  It involves sliding under the instrument panel, working in extremely cramped quarters, in very awkward poses.

As fate would have it, fellow Q-200 builder and flyer Sanjay Dhall just happened to be in the neighborhood, visiting his in-laws. Sanjay had sent me an email announcing his visit, and that he wanted to come and help with the project.  I called him and said that I had this one terrible job and would he be interested?  Sanjay jumped at it.

So yesterday, Sanjay made it to Hangar 27.  With great enthusiasm he went after it. The first thing that had to be dome was to use the Dremel tool to roughen up the flox joints, to prepared for better bonding.  After that was done we (he) started on the glassing,


I would cut the glass to shape and add in the epoxy and hand it to him cut to whatever length he needed. Every time he came up for a breather he still came up smiling.  Oh, did I mention the temperature in the hangar was 98 degrees?  Did I mention he wore a long sleeve sweatshirt to keep the epoxy off of him?

We started all this around 2:00 and it took about 4-1/2 hours, and he was smiling the whole time, then he thanked me for letting him be a part of this repair on this "historic aircraft". His words, not mine.

Thanks Sanjay.  Thank you, thank you thank you.


 This where he was working.


Friday, July 11, 2014

It's a Big Day

We reached a big milestone today, the canard is finally in place!  I wound up having a big crew today and they made the operation go smoothly. Thanks go to Pete Polete, Larry Flesner, Bill Hunter, Clarke Deacon, Bob Kolkmeyer for jumping in and lending a hand.

The day before, Pat and I had located the mounting blocks for the rudder pedals.  I established this position from their location on the old canard.


 Got up early to add the glass that really locks the mounting blocks in place.  I am rather sensitive about this, since I had an accident on my 15th flight in this a/c, because the rudder pedals tore loose. I would just as soon not repeat that act.


After I explained what we were trying to accomplish, the crew and I did a dry run to make sure everything aligned properly.  We had to verify canard skew, angle of attack in relation to the existing airframe, centering on the fuselage left-to-right, and tip-to-tip level.


After the dry run, I had a little more grinding to do, then it was time for the real deal.


This reminds me of the teetering rocks seen in the Road Runner cartoons.  We used this stack of Styrofoam to keep the wings level.  Rube Goldberg would have been proud.


Finally all glued up.  We just glued in the canard to the firewall and to the bottom of the magneto box.  After it cures for 24 hrs, I'll start adding the fiberglass reinforcing tapes.


I remember what this feels like.  Feels good.


Wednesday, July 09, 2014

Epoxy Wipe

The cool thing about using the epoxy wipe method of finishing is you don't have to have a perfect surface to start with.  You do have to have your perfectly desired shape, but the scratches and pin holes are no worry.

I use West and microballoons.  First, lay it on thick.


After 3-4 hours it's ready for the "cheese grater" surform file to knock off the high spots. It's best to get started now.  If you wait overnight the filler will be harder to work with. Keep whittling away until you can can just see the glass start to appear, now stop.  Come back tomorrow and start sanding with 36 grit paper. Work on the shape.

When it takes on the desired shape and form, do a last pass with 80 grit paper.  Now, you're done with sanding!


Now it's time for the epoxy wipe.  Use pure West epoxy.  First, used compressed air to thoroughly blow off all the dust out of the pin holes. BTW, some of my "pin holes" are almost 3/8" across!

For the first pass, we used about seven squirts worth.  Squeegee it on, and spread it as thin as you possibly can.  Wait 20-30 minutes and repeat.  The second pass we only used three squirts, for subsequent passes we only needed two. For the underside of the canard, and the inside face of the wheel pants, we gave it four coats.  I may use six for the upper surface.

Click on this photo and you can see how big the pinholes are. They are all perfectly filled.


After we did all this, I installed the brakes. Tomorrow we'll sand the epoxy with 220 grit to ready it for primer. Then the Big Deal - get ready to install the canard!

Friday, July 04, 2014

Picking Up Speed

I am moving into the mad rush mode. The project is picking up steam, but so is the calendar.  One big unknown is getting hold of a prop.

The brakes are just about ready, I just have to work on the brake covers before I can apply filler to the wheel pants.

Before we mount the canard into the fuselage, I wanted to get as much of the underside finished as possible. When we did the canard layups we applied peel ply to help smooth the surface.  For the last six months Pat has been dying to peel if off.  Today was his big day.


Once the peel ply is up, I can see that the canard surface really looks good.  


Next comes mixing the filler.  I used West System epoxy mixed with microballoons. Again, Pat helped a lot.


When a batch is ready, I dump it on the surface, then use a small squeegee to press it in, just to get a decent bond.  Then I go back with a 12" drywall knife to pull it as smooth and as uniform as possible.  This section here probably had 5 batches applied.


This is what it looks like after the micro filler epoxy has been applied. After it cured about 4 hours I start working it.  It's better to start ASAP, rather than waiting a day or two, since the filler hasn't yet developed it's full strength. I start with a curved Stanley Surform file and make lots of dust.


After a while I start to use my two foot sanding board with 36 grit paper.  As the job progresses, I like to mark up the surface with a carpenter's pencil. As I sand, it highlight the high spots, so I know where I need to concentrate.


The idea is to keep sanding until the fiberglass is just starting to show through the filler. About two hours after I started, it's looking better better, but I am bushed.  I think I laid the wet filler on a little thick, which resulted in extra sanding.  I'll try and make it a little thinner when I wort the upper surface.


Tuesday, July 01, 2014

Finally added something, rather than taking away.

Did a trial fit of the canard today. It felt good to be putting something on to the plane, rather than grinding things off.

The Air Venture Cup Race is just a few weeks away and it seems like I have an impossible amount of work to do.  The odds are against me being able to run the race, but this week was the deadline to apply, so I figured no harm.