Thursday, December 13, 2018

Q-2, Q-200 Fuel Filler Cap

This is kind of an old topic, but since some builders are still in process, I thought it would be useful to post a little bit about the fuel filler cap. In the original plans, they ask you to take a plastic 1 pint camping bottle, cut the top off and use the threads and cap for a fuel filler cap. This is proved to be a very bad idea because if the threads should crack, as they will, you are now introducing low pressure air to your fuel system and you're not able to deliver enough fuel to the carburetor. Unfortunately, the pilot only finds this out when he's about two or three hundred feet off the ground, a hair raising experience.

Several people have come up with different ways to make a fuel cap assembly, but I have been using this very simple one for over 20 years and it is working just great and it is dirt cheap. Run down to your hardware store and get a 1-1/2 by 1-1/2 PVC threaded x slip fitting. Then go to the section of the store that has that little plastic nut that you use under your bathroom sink for the drain slip fitting. Finally, take a piece of .030" aluminum and make a little disc that fits into the slip fitting nut. Now you have all the pieces you need to make a fuel filler cap. I think the pictures should speak for themselves more than me cluttering up the airways with a bunch of verbiage.


A short length of PVC is used to connect the fuel filler to the main fuel tank.


Here in the same installation on my auxiliary fuel tank.

Friday, August 31, 2018

Couple of Air-to-Air photos

I have been wanting to get some new pictures with the latest canard and wheel pants.  I also just installed a uAvionix SkyBeacon ADS-B Out. Thanks to Ken & Amy Bro and their Piper Cherokee.


Sunday, June 10, 2018

2018 Bug Muddy Air Race is complete - sort of.


Check the news stories here.


Thursday, May 17, 2018

The Big Muddy Air Race, coming up June 9, 2018

Come and flex your wings and join us at this year's Big Muddy, down in beautiful Southern Illinois.


Get all the race, and registration information here:  2018 Big Muddy Air Race

Wednesday, January 31, 2018

What is wrong with the plans-built wheel pants?

I was helping a couple of new Q-200 owners out and we were talking about wheel pants.  Here is a video we took, back in 2003, doing some tuft testing. You can see the separation, causing the yard detatch from the surface. 


Here is a shot from the cockpit.


So the goal is to have the wheel pant shaped so the yarn stays flat and that led me to the wheel pants I have today. I kind of used some RV-7 pants as a model, then took some Sawzall artistic license. I think they added 4 miles an hour, maybe more.

I need to do some comparison tufting with the new pants to show the difference for you folks.


Here is how it came together for me and this is how you can modify your existing wheel mants.

Here is the shape I'm shooting for. Right now, the wheelpant foam is the thickness per plans and the brake and axle mounts have been installed.


Using X-40 two-part foam, glue on lots of pieces to build it up.


Here is a Sawzall video, Part 1. There is a part 2 as well.


Thursday, January 04, 2018

Old Video of my first Flight June 9, 1986

I'm been re-arranging files on my computer and I came across this old video.  Marvin Getten was my coach and we were at the Flying Cloud Airport, Eden Prairie, MN.

Happy New Year!

Sam


Friday, September 01, 2017

Tuesday, August 01, 2017

Saturday, December 31, 2016

No Mags is Official!

I am now legally mag-less. I just finished my FAA  mandated 10 hours within a 50 nm radius, so now I can go back to flying anywhere.  I have to say, the engine is running nice and smooth and is starting pretty well.


If you fly 400+ miles and return to the same airport, should you log that as a cross country flight?

Since I was burning up time rather than trying to get somewhere I decided to put some hours on for a single flight. Departing Carbondale, I headed straight west for 50 miles, then turned right. Using my GPS set to KMDH I tried to keep the distance about 49 nm out. Since I wasn't in a hurry, I throttled back to 2,100 RPM or so, which slowed me down to 145 mph, true. So, when you do the numbers, this big-ass circle was 314 miles in circumference, adding in the 50 nm each way gave me a distance of 412 nm. I did it all in around 3:20.  This was a different kind of flight and kind of fun.


It was also interesting to see my performance at reduced throttle. At only 2,100 RPM I still had a true airspeed of 157 mph and a fuel flow of 4.2 GPH. I was surprised it was that good. I guess the combination of fuel injection and electronic ignition has really paid off. 


On the last of my 10 hours I decided to do some flight testing, as advised in the FAA Advisory Circular Flight Testing for Homebuilt Aircraft. I did a stall series and that was easy enough, putting my "stall" at 70 mph.

The harder part was gathering the numbers for Best Rate of Climb, then deriving the Best Angle of Climb. The middle of those two numbers gives you the Best Glide Speed. Having never done this before, it was harder than I thought. I used 3,000 feet as my baseline altitude and wanted to determine how far I would climb at that airspeed in one minute. 

The procedure I used was to set my Dynon's airspeed bug at whatever speed I was testing for, say 145 mph, then descend to 2,000 feet. I would to to full power and attempt to keep the airspeed right on the money and establish a smooth climb. When I reached 3,000 feet I would start the timer. When one minuted elapsed I noted and recorded the altitude.  This kept me very busy and I had quite a time keeping the airspeed right while doing everything else. I aborted a few attempts, since I hit the watch too late, of my airspeed was too far off.  

When I was finally done I captured 38 readings and it took over two hours to fly. I really didn't need that many, since the numbers i was most interested in  were in the 100 to 135 mph range. As you can see, I took a lot of liberty smoothing the curve, but I think it's close enough for government work. 


 The speeds I came up with were:

Stall in landing configuration, Vso = 70 mph
Best Rate of Climb, Vy = 117 mph (gives me about 1,650 feet per minute.)
Best Angle of Climb, Vx = 110 mph
Best Glide Speed (the average of Vy & Vx) = 113 mph


Vmax endurance = 85 mph
Voptimum cruise = 148 mph

And now I'm ready to fly all over the place, right? Unfortunately, my annual condition inspection expires tomorrow so I'll have to get that done first.  Maybe when it warms up a little.

Saturday, November 12, 2016

Electronic ignition is done - I think

Trickier than I thought. (As usual click on the photos to see the full version.)

I started out by modifying my electrical drawings, which was kind of fun.  I had to add in the four coils, decide where the connections were and assign wire numbers.


Then I had to modify the switch connections on the instrument panel to get rid of the magneto P-Lead ground path and add the +12 volt power supply to the coils.  Glad I managed to remember


how to use the Solid Edge CAD program.

Well, it turns out the hard part was finding a spot for four additional coils. I was hoping to attach them to my plenum in some fashion, but my friend John Cotter talked me out of it - and he was right.

Finally, I decided the only space available was the compartment that the magnetos previously occupied, the cutout in the firewall.  John came over and helped me install these rascals. I think this installation will work, and I can actually reach in and get my hands on the coils, with the engine installed, for what ever reason may come up in the future.


It was a bit of a bother finding which spark plug wires to use, but I settled on the MSD Street Fire line.  In retrospect I wish I used Magnecor, since they seem to be higher quality, but since I have $60+ invested, I'll keep them until I decide they're a problem.


Now that it's all done,  I have been able to start the engine several times and it runs a lot smoother, especially noticeable in the lower RPM ranges. I think I'm going to like this setup. It's kind of odd pulling the prop through and not hearing the magneto impulse couplings clacking away.


So for now, I am waiting to test fly until I get a letter back from the FAA giving me my flight test area limitation.  After five hours in the local area, I'll be good to go.


Tuesday, October 04, 2016

One More Time! Revising the ignition system

During the AVC race trip I had some persistent roughness in my remaining magneto. When I got home I pulled the engine and the magneto, to find it was in need of an overhaul. I am tired of pulling the engine to inspect the mag and it has only gotten worse with the addition of the fuel injection given all the extra wires.

My friend Lyn French has been running the same EC2/EC3 system as I have and he eliminated the second mag a couple of years ago, so I figure it's time for me.  According to Lyn, I just need to add a second set of coils, hook up some wires and I'm good to go.  Naturally, easier said than done.  

Here is a photo of Lyn's installation of the upper spark plug coils.  He ganged the four coils together and mounted them of top of his plenum.  He was able to do this since his plenum doesn't cover the whole crankcase.


Here is my plenum setup. Notice it covers the entire crankcase since I wanted to provide as much cooling as possible. Since there isn't any room left in the engine compartment I'm somehow going to have to figure out how to mount the coils under my plenum.


Friday, August 05, 2016

Catching up and the AVC race.

Work on the back-up system has mixed results, and I think there is no point listing it all here, since few of you have the RWS EC3 engine controller. I'll just let it go that it it working better, but still not 100%.

Another Oshkosh has come and gone and this year was exceptionally special. This was the 25th year I have had my Q-200 to the big show and it is also the year I earned my 30 year tag. Actually, I should have amended the words "Has been flying over 30 years" with "Off and On".


I really wanted to get our mobile home up to Oshkosh this year, but it just wasn't doable, so I resolved to leave the Quickie at home next year so I could drive it up with Sandy. More about that later.

The AirVentureCup was great as usual. This year the starting line was at Mitchell, SD, so it was convenient for me to stop at Topeka on the way up to visit with Cherish, Brent & Fisher. Fisher was really disappointed when he found he couldn't get a ride this time around.  Can you tell?


It's really hard to capture what it like having 70+ race planes on the ramp. Let's just say it's pretty exciting.


First time racers applying their numbers

Checkered flag toes.

Fast Class

The omnipresent Jeff Barnes.

Pre-race dinner and pilot's briefing

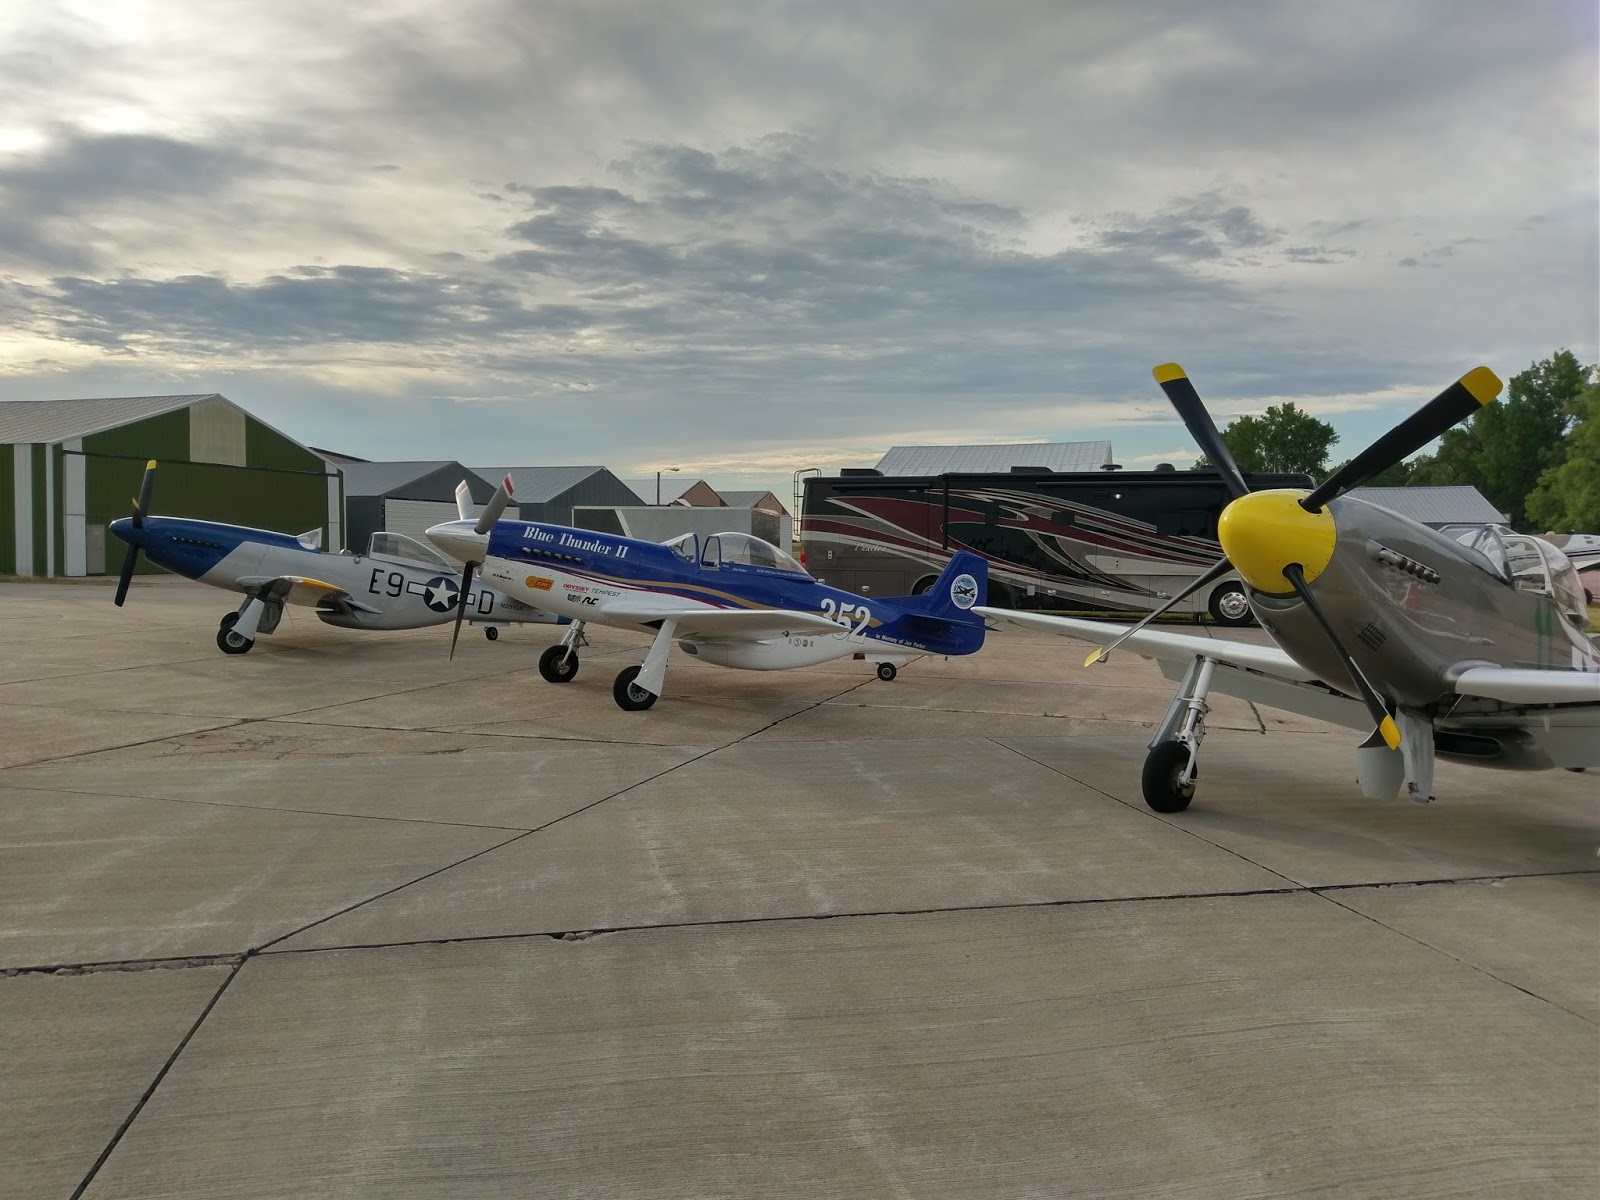
Thunder Mustangs at the ready.

Jeff Lang's Turboencapulator powered Soneri.

Typical cockpit organization.
Race aircraft strewn all over the place at our interim stop, Owatonna, MN.

Honestly, we really do know what we're doing.


Finally made it to Oshkosh.

Cozy Girrrls put on a great spagatti dinner for the Canardians.

With AnnElise Bennet

I think this was departing from Owatonna. Lots of wake turbulence.

Quickie and Dragonfly folks having a cold one before the evening airshow.

Richard Kaczmarek proposing to Wendy at the end of the Quickie Builders Association
annual stockholders meeting.

Reg Clarke's very fast Subaru powered Q-2, from British Columbia.

Going to church in Oshkosh.

Uncle Doc, Rich, Dee, & Sam


I was in the conga line for departure for over 40 minutes!
Here, I am only number six or seven in line.

So, after doing another AirVenture Cup race and Oshkosh for a week, I am finding it hard to hang up my racing shoes. I want to make it go faster, faster faster.  Now all I have to do is to firure out how to get the motor home and the plane there at the same time.