Better than 10 years ago I experienced a hard landing with a passenger aboard. We landed pretty hard and bounced back into the air. I did a go-around and landed much better the second time. When I got to the gas pump, I discovered a nasty wrinkle in the upper skin.
In this post I will provide a photographic description of the repair. Click on the photos for a better look. Thanks to Charlie Johnson for the repair advice and C-Rod for the layup and vacuum bagging help.
Initial wrinkle
Drew outline of apparent damage.
Coin tap test reveals extent of the delamination.
Take the weight off of the canard prior to repairs.
Damage to foam revealed.
Dug out the foam.
Decided the best way was to go all the way to the lower skin and back to the spar. The spar was not damaged.
Fit a foam block.
 |
|
In order to properly fit block all the way down to the skin, it was necessary to split the block front-to-rear, then I could eyeball each side individually.

 |
|
Lots of wet micro was added to bond the foam in place. We found the block didn't want to seat, so the use of a vacuum pump was necessary to pull the block all the way down and to eliminate voids. It worked well.
Get out the Sawzsall for initial carving
 |
| . |
Getting close to final shape.
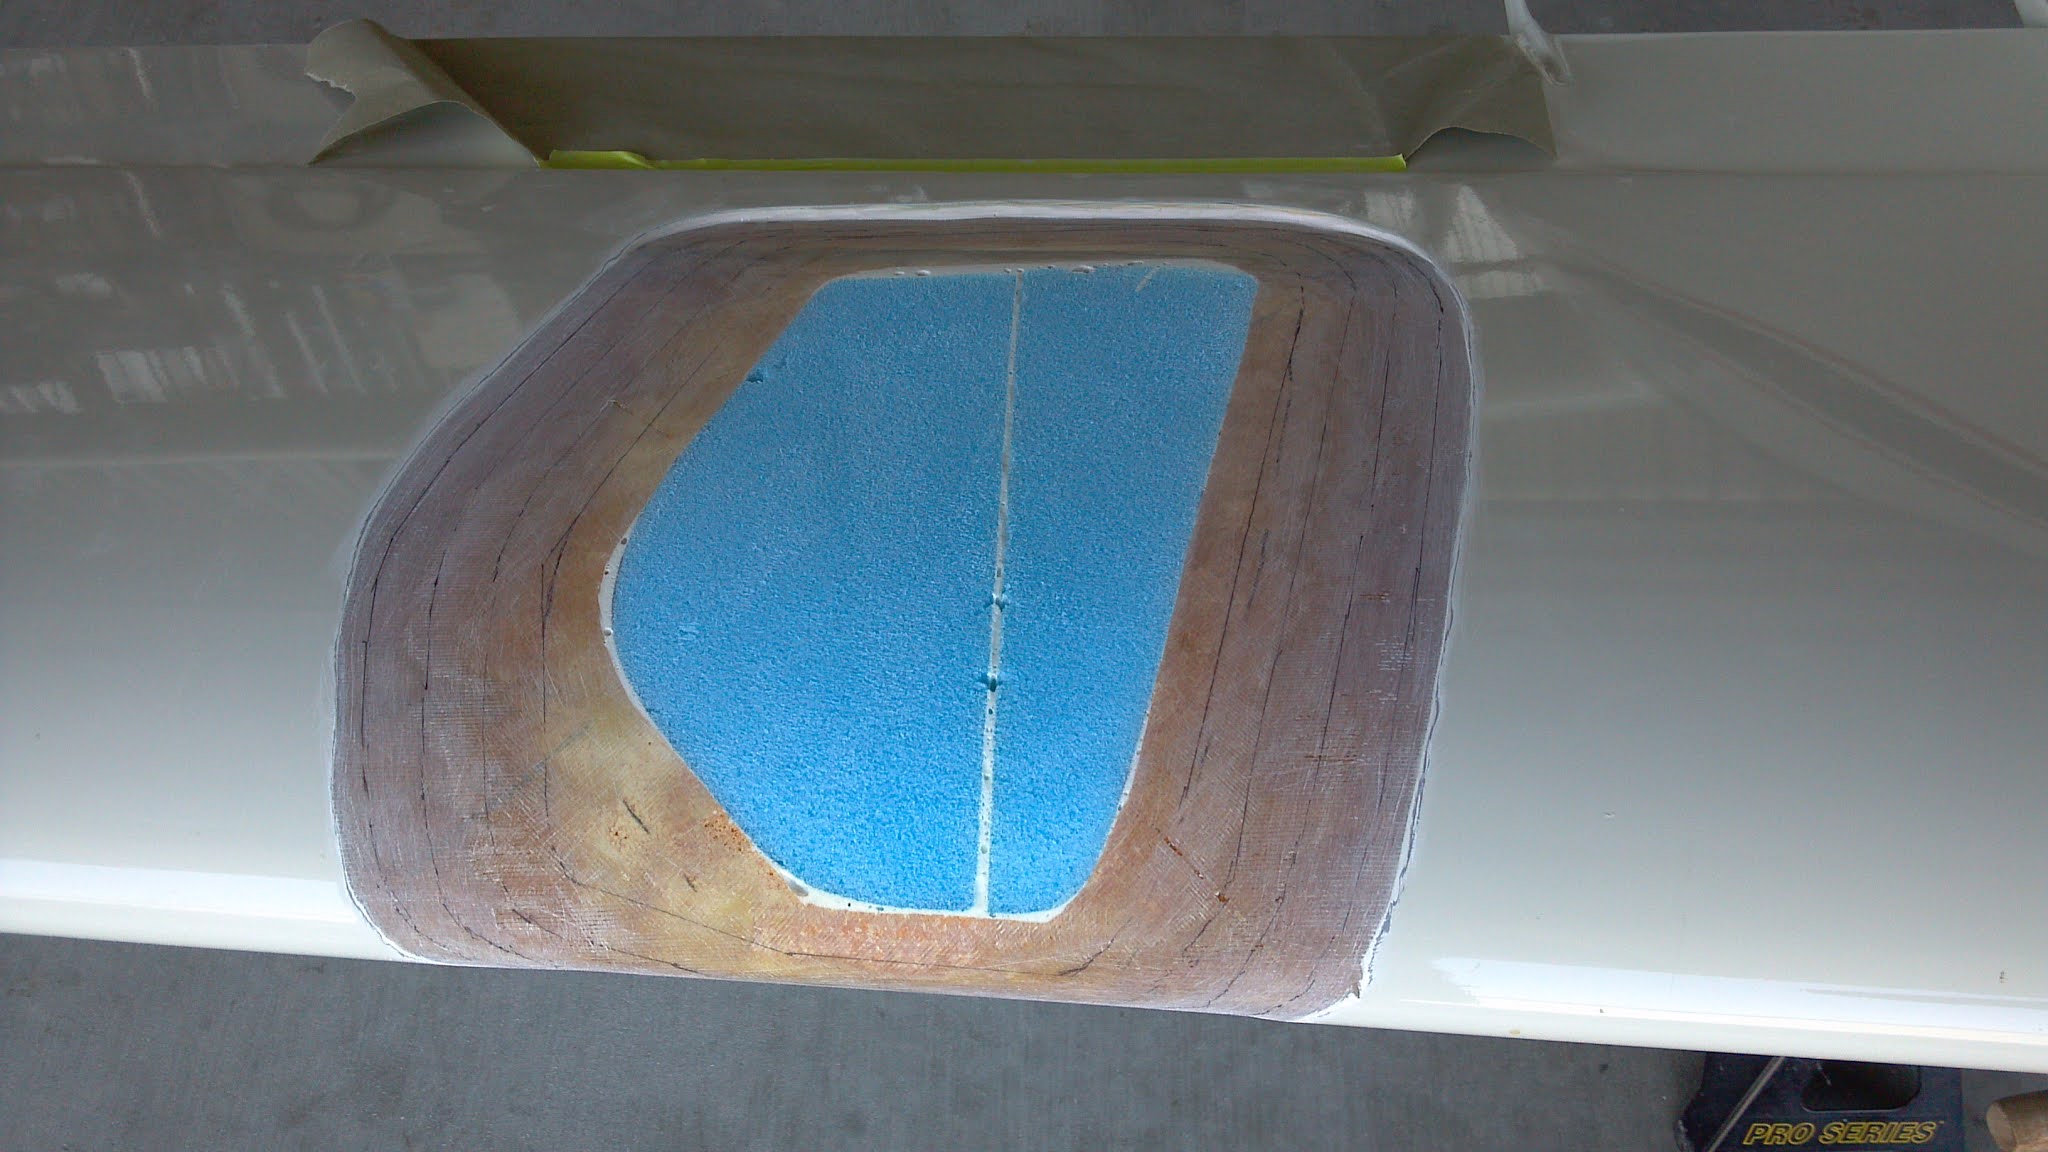
Masked off the area to be repaired.
The existing fiberglass was beveled according to standard composite repair practices, as called out in the education section of the original plans. We trenched the split micro line, since it was a too hard sanding point.
Each line represents how far each repair ply will go. The smallest piece goes on first, then progressively working out to the largest. I forgot exactly how many plies I used. Maybe 5 or 6.
All the fiberglass plies have been added. Here, the epoxy is still wet.

|
At the last minute I decided to peel-ply the whole thing. |
After the layup has cured for a couple of days, the peel-ply was removed and dry micro applied.
Sanding begins.
After coarse sanding, scratches and pinholes remain. This will be taken care of by using the epoxy wipe method.
Final sanding completed, ready for epoxy wipe.
After epoxy wipe is complete, all scratches and pinholes are gone!
Prepare for prime, paint and buffing.
Ready for racing!


2 comments:
Great post Sam. Caution for the Q2 GU canard folks tho. The fiberglass layups are significantly different so use these instructions only on a LS1 Q200 Canard.
This was fascinating. Have seen 22 featured on a few other sites, platforms. I need to repair my wheel spats at the end of the canards. I think it will be a much simpler task, but this was excellent education, thank you Sam. Rgds from new excited owner from South Africa.
Post a Comment