Saturday, October 11, 2014

Actually Flying


So, with about seven flights under our belt, Plastic Explosive and I decided we were reliable enough to take it on a big trip, the Annual Quickie Aircraft "Field of Dreams" event, held this year in Orange, MA. Of course, you remember that Sandy and I were on the same trip last year when we had our "incident".

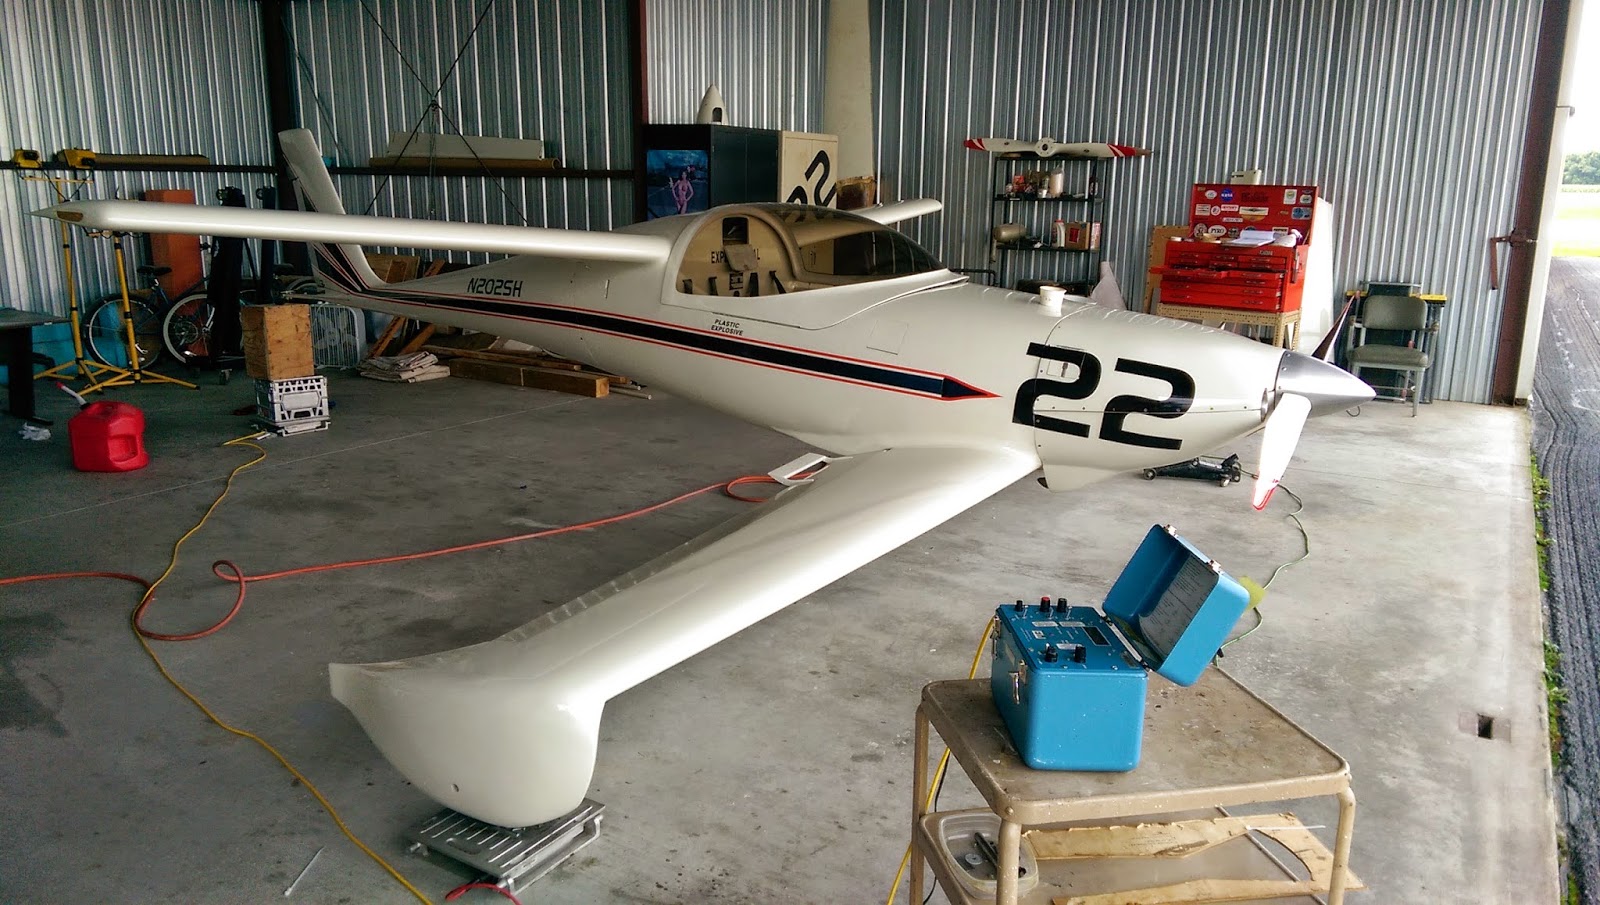
I loaded up with 32 gallons of fuel and hit the road.  Really, the plane flew just great.  The cylinder head temps got hot on climb out, but I could fix that by lowering the nose, increasing the mixture, and throttling back a little.  Remember, this engine isn't fully broken in yet and I still have some work to do sealing the air gaps in the plenum.

I used flight following both ways.  It's better than filing a VFR flight plan, because they know where you are all the time, and it is good practice communicating with ATC. This map shows the return trip.  I was almost out of Massachusetts when I started flight following, that's why it's not showing KORE as the origin. The joggles are where I had to fly around some Class B airspace and some clouds.


On the way out, I stopped for fuel in Columbia, NY. I was pretty sure I had enough to make it the additional 65 nautical miles to Orange, but better safe than - well you know.

I was very happy to make it to Orange and see Dave Dugas, the organizer. Jerry Marstall already there beat me there, by a day.


We had five Q birds, one Cozy and a Bonanza attend.

Q-2: Dave Dugas
Q-200s: Sam Hoskins, Paul Fisher
TriQ200s: Jerry Marstall, Bruce Crain
Cozy: Rodney Herzig
Bonanza: Mike Bergen


Jerry and I flew up to New Hampshire to look for a long gone cabin he used to own.  This gave us the opportunity for some fun formation flying. We stopped at Keene, NH where were were met by the other guys for lunch.  Fun.


A impromptu Quickie invasion at Keene, NH.


Some people have just too much fun.


Bruce Crain gave lots of rides.


Jay Scheevel gave us a great presentation on the aerodynamics of our little planes. I hope he publishes it, because it was a lot of great information that will take a while for this feeble brain to digest.


 First time I attended a clam event. It was good, but things did not go well for me later in the evening.  Probably just too much of a good thing.


Dave steaming the corn, clams and lobsters.

It was not a good day to be a lobster.

These little guys were awaiting us Sunday morning.


My guy was green.  Something to do with the clams, I think.

Finally, it was time to hit the sky and head home. The weather was clear, with light varying headwinds. I was able to make it all the way, 975 miles, non-stop.  Five hours and 45 minutes is a long time to sit in one place.  When I landed, I still had another  75-100 miles of fuel left, so I must have used about 27 gallons for the trip.  Comes out to around 4.6 gal./hr, and 36 miles/gal.  Not too bad. BTW, only used 1/2 quart of oil.

Whew!  Am I glad to get that trip behind me. Now, how can I get this thing to go faster?

Wednesday, September 17, 2014

Crossed the Line - Final Repair Progress Report


It feels good to have crossed the line.  Very good.

This was my fourth major test flight in this aircraft.  I'm talking about the test flight when you are thinking about the 1,000 details you tended to.  The hundreds of details that can have a significant problematic outcome for the flight. But finally, there comes a time when you say to your self, "Self, there is no reason not to fly". It's ready.

Not to say I wasn't looking for reasons.  For instance, when I got to the airport I realized I had forgotten my wallet, so pilot's certificate and medical were missing from my person. So, I drove back home (only 5 minutes each way) to get it.

I called the control tower on the phone and warned them I was going to attempt to commit aviation again.  They obligingly had the 45 SIU Flight School aircraft stand down. (JK - but for some reason all their aircraft were parked on the ramp.)

I got out to the departure end of 18L and did the run-up.  Crap.  Another fouled plug, but this time I was able to clear it.  Went through the take-off checklist and again, no reason not to fly.  The take off was non-eventful, as we like to say.  Cylinder head temps immediately went into the yellow, but this is expected with an engine that has new everything.  Got to 3,500 feet and leveled off there.

Circled and circled. It wanted to roll a bit to the left, but that is kind of expected, but overall I am pleased how the trim wound up. While I was up there, I did a single stall to see if any if the flight characteristics had changed.  I seemed to get pitch buck at 65 mph, which is great - I think it used to be around 74 mph, but there is plenty more testing and tweaking to do.

Click to read the numbers:

The landing was acceptable.  I wound up coming in hot, I was doing 100 across the numbers, but it slowed down and I didn't bounce the landing.  I have to say, with a careful job of doing the David Gall alignment, it is tracking really well.

Got it back to the hangar and I had that familiar and wonderful sense of relief.

Special Note


Of course, this would have been impossible but for the enormous help from my family and friends.  Impossible.

My thanks, thanks, thanks to all who were so kind as to contribute towards the effort. I'm sure I have inadvertently left out a name or two, for that I apologize. In fairly random order:

Sandy Hoskins
Pat McGuire
Bill Hunter
Dan Yeager
Craig Catto (propeller sponsor)
Charley Rodriguez
Sport Air Racing League
Larry Flesner
Clarke Deacon
Quickie Builders Association
Nathan Peck
Vic Vacari
Randy Bateman
EAA Chapter 277
Bob Malechek
Sanjay Dhall
EAA AirVenture Cup Race
Jerry Marstall
Bob Kolkmeyer
Pete Polete
SIU Aviation Technologies
Mike Burgener
Rob Hoskins
Gary Hertzler
David Gall


Post Script.  It turned out the significant oil leak was mainly due to a cracked oil screen housing. I am glad we did the work on the sump, but most of the oil was from the housing.  Fortunately, I was able to locate a new one on EBay for $26.  Continental Motors probably would have wanted $400.


Not sure, but the oil leaks probably took three weeks to resolve and that's the way it goes.


Friday, September 05, 2014

Going after the oil leak

So I'm working on my leaking custom oil sump.

A few year back, I replaced the original steel sump with this aluminium one to make the bottom of the cowl more streamlined. You can read a bit about it here: http://samhoskins.blogspot.com/2010/05/so-whats-deal-sam.html and here: http://samhoskins.blogspot.com/2010/05/new-oil-sump-engine-start.html

Oil leaks are hard to detect. I was pretty certain I had a crack on the flat aft edge of the sump. I got hold of a dye penetrant kit and it told me a different story.  What I thought was a crack was only a scratch. The main culprit was a crack in a weld next to the filler spout, in the right side of the photo. (The big red blobs in the middle are from not being able to remove the excess penetrant under the support gussets).


I took the tank to a local talented welder to fix it up. He is going to have to hang on to it for a few days, so no aviating until then.

Friday, August 29, 2014

Making Progress Ain't Always Easy

I am drawing near, but Murphy's Law is omnipresent.

I was finally able to do my annual inspection and wrap this project up.  (What a patient wife I have). I use a seven page checklist to make sure I hit everything.  I finally got into the tail area to install a new battery and to look things over back there.  I used Jerry Marstall's nifty tail cradle, and it worked just great.  I wish I had one of these 20 years ago. As a bonus, when you are done with it, it folds down and you can store it up against a wall in your hangar.  You can get Jerry's plans somewhere at Quickheads


Toward the end of the annual I wanted to do a fresh weight and balance and I was able to borrow a set of calibrated scales from AvTech. Through all of that work, the plane only gained three pounds.  I'm satisfied with that.


I finally signed off the annual and took it around for a taxi spin. It was nice to have it all in one piece with all the electronics installed.


I really thought I was going to be able to fly. The other day I taxied out the full mile to the long runway at KMDH. Did my run-up and found the electronic ignition, which feeds the bottom plugs to be very rough.  What the F?  It was fine when I left the hangar. I figured it was a fouled plug and that it should clear up once I was in the air (the mag was running fine), but then I thought better of it and taxied back to Hangar 27.

One problem with a newly overhauled engine is the piston rings haven't seated yet and there can be excess oil in the combustion chamber until things settle down.  This excess oil can also foul spark plugs.

So I cleaned the plug and fixed a couple of other engine squawks I found that could cause oil leaks.  I am condensing this write-up, but all of this seems to drag on for days.  I can't say for 100% certainty is if a spark plug fouling issue, or if it is an electronic ignition problem.

Yesterday I gave it another shot.  Taxied the mile out again, was first in position and damn!  Rough engine on the electronic ignition again.  Really rough.  Since the magneto side was running fine, I did a high speed run down the runway to try and clear it, but no joy. Back to the hangar.

In a positive note while doing all this taxing, I found the plane is handling on the ground really well, better than before.  I attribute that to the care I took in doing the Gall Alignment, by the book. I used David's calculations to establish toe-out and camber.  So far, I'm quite pleased with the handling. For more info, see this post: http://samhoskins.blogspot.com/2014/06/sam-put-your-pants-on.html


As if the ignition problem wasn't enough, when I got back to the hangar I found this.  Rats!


I have this custom aluminium oil tank and it seems to have developed another crack. It ain't easy being Experimental. I have a talented fellow available that can repair it, I hope this weekend.  When it's done I am going to heat treat it.  I am reading up on the process, but it involves heating the tank up to 700 deg. F, then quenching it with water.

So, today I'm going to throw in fresh set of automotive plugs and see it it helps the ignition miss issue. After I've done that, it's time to drain the oil.

As always, stay tuned....

EDIT:  I replaced the lower plugs and it ran just fine.  Whew!

Monday, August 04, 2014

Catching up.

Well as you know, I missed both the AirVenture Cup Race and Oshkosh.  I finally got to the point where I accepted that no matter the effort, it wasn't going to happen.  Actually, it was a bit of a relief for me, and I was finally able to get caught up with a few things, like getting a haircut and mowing the lawn.

Anyway, here is the latest with some duplication from the last post.

Thought I'd celebrate being on three wheels by getting a little air.

Engine mounted with the fuel injection harness and fuel manifold hooked up.


My little brother Robbie came down for a few days to help out.  He is glad to be out of the Chicago suburbs for a little while.


The canard after doing the epoxy wipe.  Six applications on the upper surface.


Click on this photo to see it bigger. You can really see how the scratches and pinholes are filled. After it has cured a day or two, simply block sand with 180 grit.


Sam showing a bit of stress. This was before I threw in the towel.  We did put in some long hard days.


\

Engine finally ready to go, complete with the cylinder baffling and the the upper plenum installed.  Just need to put in the oil and some gas.


Trial with my beautiful Craig Catto prop and the spinner.


Wednesday, July 30, 2014

Moving along, just not fast enough.

It was a mad dash to try and get it ready for Oshkosh.  Very long days.

The canard how has a nice coat of micro-filler


Maybe not the most optimum time to hang the engine, but I needed the morale boost.  I had almost as much fun dissembling the crate, and freeing up the floor space, as I did hanging the engine.  There is a lot to hook up and install; the fuel injection manifold & harness, the starter & alternator, magneto, etc.  There is also a lot of baffling.


My little brother Rob came down from northern Illinois to help out.  Rob has lots of painting experience.  As a matter of fact, he painted this aircraft in 1985 when I was building at the Flying Cloud airport in Minnesota.


After sanding the filler with 36 grit, then 80 grit paper, we did the epoxy wipe. You squeegee it on, than squeegee off as much as you can.  Four applications on the underside, and six on the top of the canard. The temps were warm, so it tacked up quickly.

Be sure to click on this photo to see it better.  You can see all the huge scratches and pinholes.  The epoxy wipe fills all of it.


 Finally have some paint on it. I still have to do the elevators and a bit of buffing.

His mission complete, little Rob hits the road.  This has to be the loudest motorcycle I've ever heard.  He's my little brother, and I gotta love him.

Saturday, July 19, 2014

Another Big Day

Another step toward success.  Today I was extremely lucky to have a very special guest helper for a couple of hours.  We got the top surface of the canard and wheel pants covered in micro!  A few hours later I went back and did the rough cut with  Surform files.

We ran out of the West System epoxy hardener, so I used some old FAST hardener I had laying around.  Probably at least 6 years old and it had been opened, but it seemed to work fine.  It's the dark material in the photos. 


Few hours later I came back and hit it with the Surform file.  It's really important to do this at this stage, because a day later the epoxy gets a lot harder and it's more difficult to work.
 

To my dismay I may have a few low spots.  Maybe I'll try some spare use of the fast hardener just to get me by.


I Like My Fillets Medium Rare

One time consuming and important job is installing the fillets.  Naturally things weren't quite the same fit with the new canard and elevators, so I had to adapt the old fuselage fillets to the new desired positions.

The first one was on the belly, where the canard fit into the fuselage.


I salvaged what was left of the old panel I had cut off after the old canard was removed.  It was pretty hacked up from Mr. Sawzall, but enough to work with.


I didn't capture quite all the steps, but you get the idea.  First we glued the panel in place with flox, just enough to establish the position.  Then I took a thin slab of foam, slathered it with two-part foam, then jammed it into place.  The two-part foam has pretty well cured in 30 minutes, so you can start working it right away.


Some easy sanding, and it's ready for glass. Since this is non-structural, it only gets one layer of BID fiberglass. I also applied the removable peel ply.


 This shot shows the glassed panel, after the peel ply has been removed.  You might not know it, but I think it turned out pretty good.


Now it's time for the canard fillets, same basic process.  Add foam, sand to shape, then cover with one BID of glass.


At the training edge of the fillet, I glued a slab of foam with two-part, to the existing fillet.  Over the canard, I made a little tunnel out of cardboard, then poured the foam in.


For the fillets, I have a two foot cardboard tube covered with 36G sandpaper that I use to make the desired shape.


After fiberglassing and peel ply, it looks halfway decent.


 By the way, here is a picture of my shop in the hangar.  Just thought I'd throw that in.  Not very organized, but I get by.